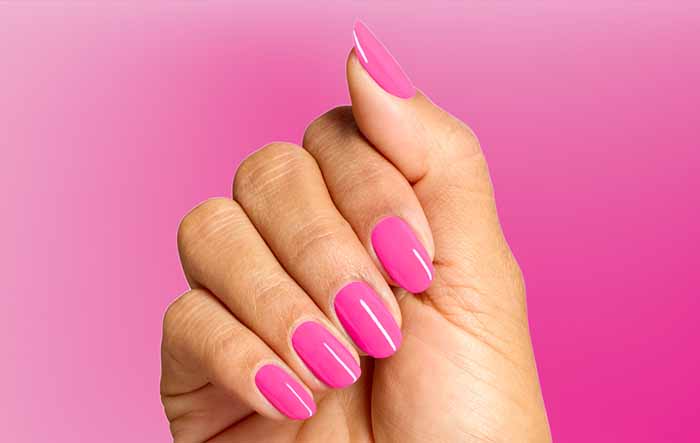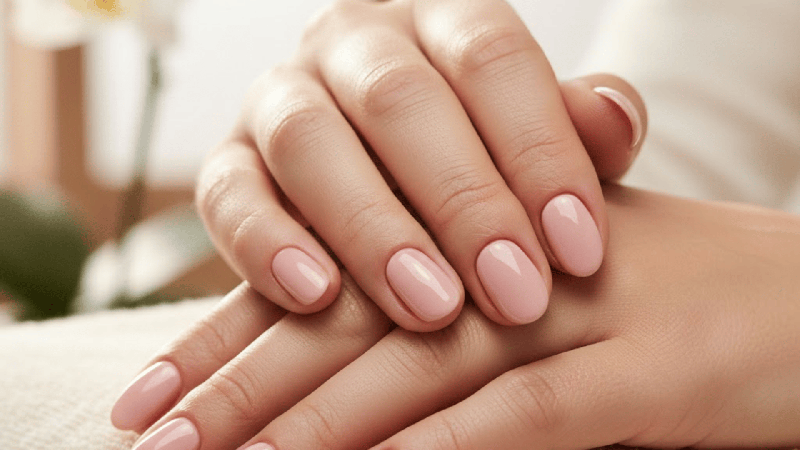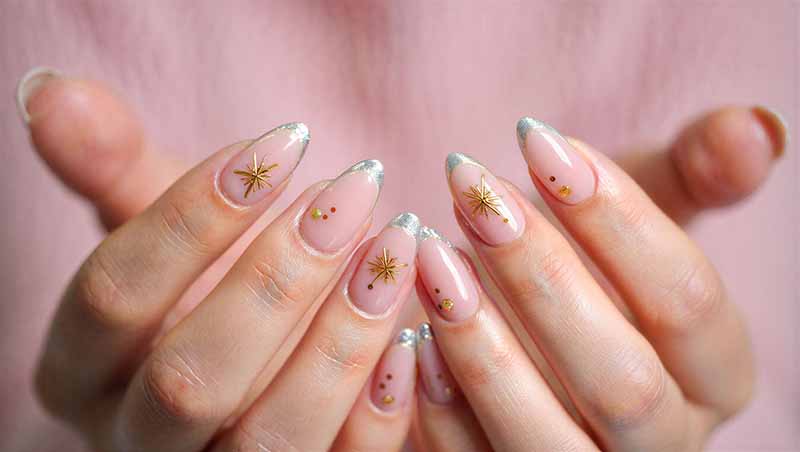
UV gel nail stickers—also called semi-cured gel wraps—have become a favourite for people who want salon-quality nails at home. They are thin, flexible, and pre-designed. They cure under a UV or LED lamp and last up to two weeks. But the most common complaint is bubbles and wrinkles. A sticker that creases or traps air looks uneven and lifts early.
The good news is that bubbles and wrinkles are almost entirely preventable. They come from poor preparation, incorrect sizing, or rushing the application. With the right technique, you can get a smooth, seamless finish every time.
Why Choose DIY UV Gel Nail Stickers?
There are several reasons to use UV gel stickers at home.
First, they are convenient. A full set takes about 15 to 20 minutes. There is no painting, no drying time, and no risk of smudging. The design is already printed, so you get consistent results without artistic skill.
Second, they are gentler than salon gels. Removal uses oil or warm water, not acetone. There is no aggressive filing. When applied and removed correctly, they protect the natural nail while adding colour and shine.
Third, they are affordable compared to regular salon visits. A single set costs a fraction of a gel manicure, and you can do it on your own schedule.
Finally, they are versatile. You can choose from hundreds of colours, patterns, and finishes. You can wear them for a vacation, a wedding, or everyday wear. And because they are thin and flexible, they feel lightweight on the nail.
Nail Preparation: The Foundation of a Smooth Finish
Bubbles and wrinkles often start before the sticker touches the nail. Oils, dust, and uneven nail surfaces prevent the sticker from lying flat.
Start by removing any old polish. Wash your hands with soap and water and dry them thoroughly. Shape your nails with a fine-grit file, 180 to 240. File in one direction only. Choose a shape that matches the sticker’s design—oval and squoval are usually easiest.
Push back your cuticles gently. Do not cut living cuticle. Only trim loose, dead skin if necessary. A clean cuticle line allows the sticker to sit close to the base of the nail without overlapping the skin.
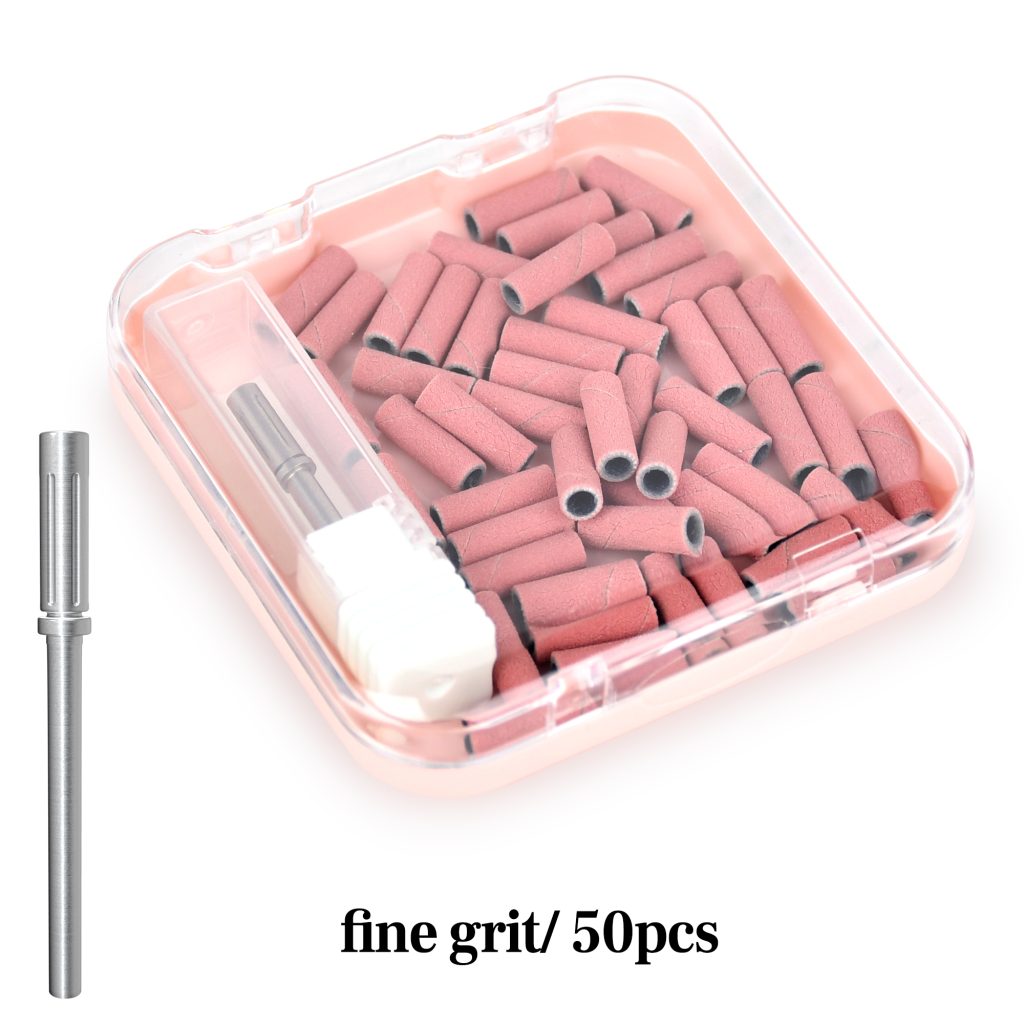
Lightly buff the nail surface with a fine buffer or a fine-grit sanding band. The goal is to remove the natural shine, not to thin the nail. Two or three light passes are enough. Over-buffing creates grooves that can cause the sticker to wrinkle.
Remove all dust with a soft brush. Then wipe each nail with a nail dehydrator or 91% isopropyl alcohol on a lint-free wipe. Do this twice. After this step, do not touch your nails with your bare fingers. Natural oils transfer instantly and prevent adhesion.
Key Tools for a Flawless Application
You do not need many tools, but the right ones make a difference.
- UV or LED lamp. Use one compatible with the stickers. LED cures faster, usually 60 to 90 seconds.
- Fine-grit nail file. For shaping and smoothing edges.
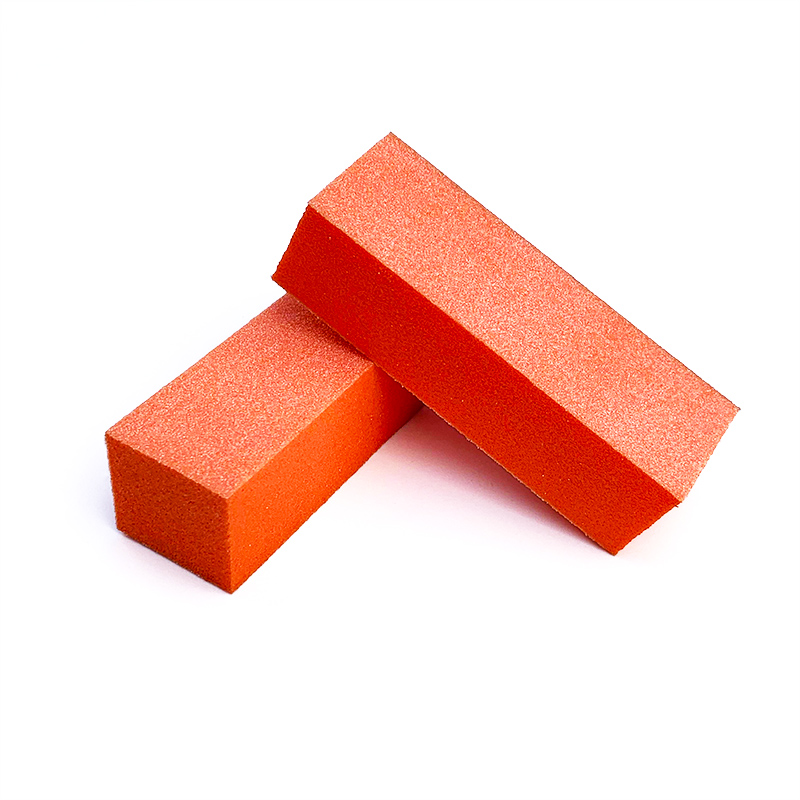
- Buffer block. For gentle surface prep.
- Cuticle pusher. Wooden or rubber-tipped.
- Lint-free wipes. For cleanser and dehydrator.
- Rubbing alcohol or nail dehydrator. For removing oils.
- Small scissors. For trimming excess sticker length.
- Wooden stick or silicone tool. For pressing edges and smoothing bubbles.
- Gel top coat (optional). For extra durability and shine.
- Cuticle oil. For aftercare.
Avoid using metal tools to press the sticker. Metal can scratch the surface or create sharp creases.
How to Apply UV Gel Stickers Without Bubbles or Wrinkles?
The application technique is where bubbles and wrinkles are won or lost. Follow these steps carefully.
Step 1: Choose the Right Size
Hold each sticker over your nail without removing the backing. Pick the size that covers the nail from sidewall to sidewall without touching the skin. If you are between sizes, choose the smaller one. A sticker that is too wide will overlap the skin and lift. A sticker that is too narrow will leave edges exposed. If the sticker is slightly too wide, you can trim the sides with small scissors before applying.
Step 2: Peel Carefully
Peel the sticker from the backing slowly. Try not to touch the adhesive side. If you touch it, oils from your fingers can weaken the bond and cause lifting. Hold the sticker by the edges.
Step 3: Place from the Centre
Place the rounded edge of the sticker just above the cuticle, leaving a tiny gap—about one millimetre. Do not press the whole sticker down at once. Start at the centre of the nail and press gently outward. This pushes air toward the edges instead of trapping it in the middle.
Step 4: Smooth Outward
Use your fingertip or a wooden stick to smooth the sticker from the centre toward the sides and tip. Work slowly. If you see a bubble, gently push it toward the nearest edge with the stick. Do not press down hard on the bubble—this can stretch the sticker and create a wrinkle. Instead, lift the edge slightly and re-smooth.
Step 5: Stretch Gently
Gel stickers have some flexibility. If the sticker wrinkles at the sidewall or cuticle, gently stretch it sideways or lengthwise to conform to the nail’s curve. Do not over-stretch. A little tension helps the sticker lie flat. Too much tension distorts the design and causes lifting later.
Step 6: Trim and File the Free Edge
Fold the excess sticker over the tip of the nail, or trim it with small scissors. Then file downward in one direction to remove the excess and seal the edge. Filing upward or sawing back and forth can lift the sticker and create a ragged edge.
Step 7: Press the Edges Firmly
The edges are where lifting starts. Use a wooden stick or your fingertip to press the sticker firmly along the cuticle line, sidewalls, and free edge. Make sure there are no gaps or lifted corners.
Step 8: Cure Fully
Place your hand under the UV or LED lamp. Cure for the recommended time, usually 60 to 90 seconds. Make sure all five fingers are fully exposed to the light. If the sticker still feels soft or tacky after curing, give it more time. Under-cured stickers wrinkle and peel.
Step 9: Seal with Top Coat (Optional)
For extra durability and a smoother surface, apply a thin layer of gel top coat over the cured sticker. Cap the free edge. Cure again for 30 to 60 seconds. This seals the edges and adds a glass-like shine. It also helps hide any minor imperfections.
Step 10: Hydrate
Apply cuticle oil to the skin around the nails. This keeps the cuticles soft and healthy. Avoid water for at least one hour after application.
Troubleshooting Bubbles and Wrinkles
If a bubble appears, do not press it down hard. Instead, lift the nearest edge slightly and smooth the sticker toward the edge. If a wrinkle forms, gently stretch the sticker and re-smooth. If the sticker is badly creased, remove it and start again with a fresh one. A badly wrinkled sticker will lift quickly.
If bubbles appear after curing, they are permanent. You can sometimes hide small bubbles with a top coat, but the sticker may still lift. Prevention is better than repair.
When to Replace or Remove UV Gel Stickers?
A properly applied set lasts 10 to 14 days. You should remove or replace the stickers when:
- The edges begin to lift.
- Water gets underneath.
- The sticker feels loose or catches on things.
- You see discoloration or moisture trapped under the sticker.
- You are ready for a new design.
Do not leave them on for more than two weeks. Lifted edges can trap moisture and lead to bacterial or fungal growth.
To remove, apply cuticle oil around the edges and under the free edge. Wait a few minutes. Gently lift the sticker with a wooden stick. If it resists, apply more oil or soak in warm soapy water. Peel slowly—never force it. After removal, clean the nail and apply cuticle oil.
Final Thoughts
Bubble-free, wrinkle-free UV gel stickers are achievable with careful preparation and a patient application. Choose the right size, place from the centre, smooth outward, stretch gently, press the edges, and cure fully. Seal with top coat if you want extra durability. Avoid touching the adhesive, over-stretching, and rushing. With a little practice, your gel stickers will look smooth, glossy, and salon-quality—without a single bubble in sight.
Read also: The Guide to Pink Nails: Styles, Color Combinations, and Application Tips